"The Collector Ship" mission is one of the two toughest missions on the Insanity difficulty setting. Yet, it has only two really tough parts. But they are very difficult and you will die a lot. Your squad should be Miranda and Zaeed.
1. Acquiring "The Collector Ship" Mission and save your game after Horizon. After completing the Horizon mission, save your game on the Normandy. You get three more team members to recruit. Now this is important. If you complete two more missions, you cannot access the Galaxy Map. There's some question as to what triggers the mission. I've seen it always two missions after Horizon. Regardless, save your game right after Horizon. The Illusive Man tells you about the Collector ship and you will be forced to go there.
If you need upgrades for your assault rifle, get them right after Horizon. That's because Illium has opened up. Upgrades are useful for the Revenant machine gun. If you complete a recruitment mission, Grunt's loyalty mission should have opened up. It may have opened up earlier. That opens up Tuchanka. Mordin's loyalty mission on Tuchanka may also open up after one mission. Big, because Tuchanka has another assault rifle upgrade for you to buy. And note if go to Tuchanka and stay there, you can complete both loyalty missions along with another mission before you get forced to go to the Collector ship.
2. First Collector Attack. As I said there are only really tough fights on this mission. The first one is the first contact with the Collectors. You approach a platform with a control to start a link with EDI. Once you activate it, the battle starts. A platform flies in.
First, position your team behind the wall that had the control panel. Set one at each side but make sure they are under cover. Then note that the first platform comes to your right. Okay, take cover, away from your team by the front wall. That's because if you're too close to them, the fire you draw will hurt them also. Almost immediately, Harbinger possesses a Collector. Concentrate everything on him. Then take out the other two Collectors. You're probably going to die a few times doing this. That's because there's limited cover and Harbinger is right on top of you. But once you've cleared first platform, move to it. You are in good shape to overcome this battle.
You're on the the cleared platform that had the first Harbinger. Note there's a wall in the middle of it that provides cover. Oops, I forgot. There's a Scion on a platform that orbits the control panel platform. But relax. The Scion does not flank you. You can now stay in cover. And you've now got a crossfire situation.
Another platform arrives. But it comes to the left of the control panel platform and is a distance away from you. Take out your sniper rifle and let the Collectors have it. Concentrate on any Harbinger that advances on your team. Then if the Scion is still alive, kill it.
3. The Praetorian. If you've played this mission before, you're at the ledge which leads to the large chamber and the Praetorian. Of course, save your game because this could be the toughest battle on the Insanity difficulty level. Hop down. You're on a ridge with paths that lead down to the left and right. There are some low walls and rocks down below for cover. But you don't get as much cover as Horizon.
Unlike Horizon, it's not just the Praetorian you have to worry about. It's accompanied by two husks. You know the drill, take out the husks. As for your squad, let them roam. That's right. Why? If you station the at the top of the ridge, they stay put and get killed quickly. When they move around, they're harder to kill. What about you? Stay on top of the ridge as long as possible. Unleash your assault rifle on it. The Praetorian will choose a path to come up and attack you. Once it starts up the path, move.
Now if you've killed the first two husks, two more come down. They're accompanied by two Collectors. By now, you have been forced on the lower part of the chamber with the Praetorian on the ridge coming down. Use cover. Take out the husks rushing you. Your squad if they are still alive, probably have done a good job of stripping down the husks to health. Slam them and kill them quickly. Then kill the other two Collectors. Keep you eye on the Praetorian. If it is about to flank you, run and move.
It's important to use your squad to bring down barrier and armor of the Praetorian. The Praetorian is just like the one on Horizon. It will slam to the ground to regenerate its barriers. But it's armor doesn't regenerate. Once you get rid of that, it's dead. You have to juggle your squad's powers, putting down the Collectors and watching for the Praetorian at the same time. Now once the second wave of Collectors are dead, you can focus on the Praetorian. Be careful and don't get cocky. You've come this far, don't get careless and get killed. Take cover and move if you have to. Eventually you bring it down.
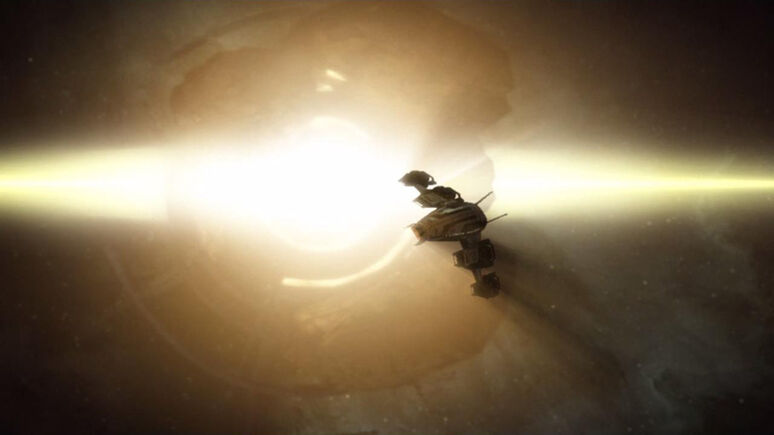
3. The rest of the mission. The rest of the Collector ship is straight forward. Keep in cover. Nail Harbinger first. Now you get to the last hallway that overlooks the shuttle. Husks pour in. Don't be afraid to fall back. The combination of your assault rifle and slam should do nicely here. Get to the shuttle and end the mission successfully. You get a cutscene where the Normandy gets away from the Collector ship. (Pictured below.)


No comments:
Post a Comment